Transom Repair
From April to August of 2005 I learned all about fiberglass repair.
The following pictures document my efforts. The first picture is the most recent.
Scroll all the way down to see the steps I took to get this far.
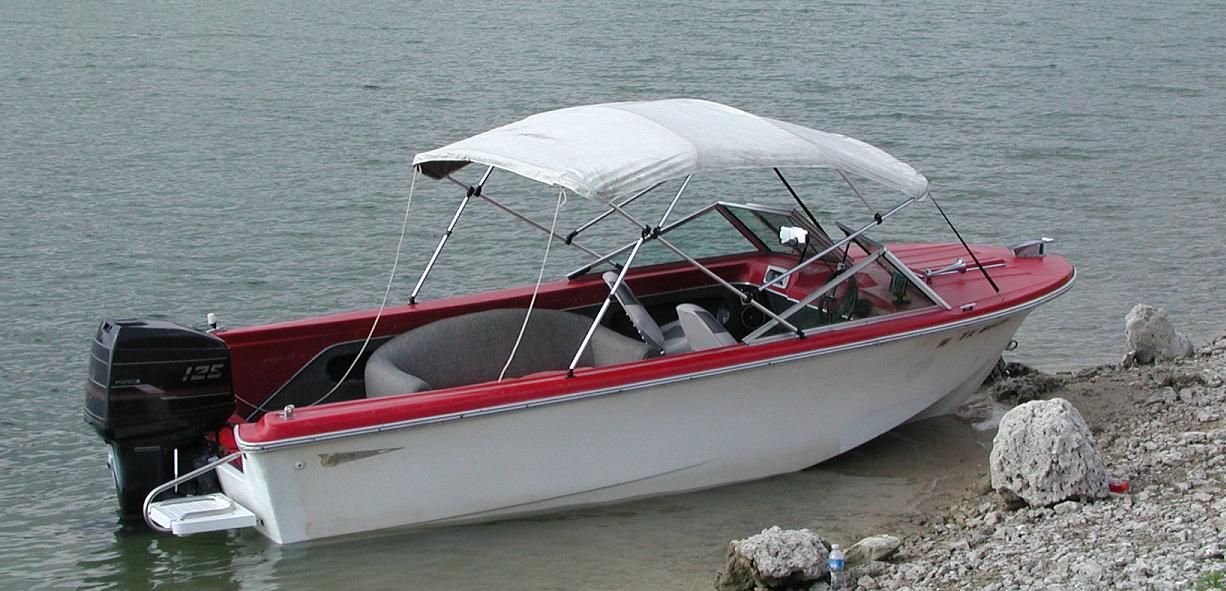
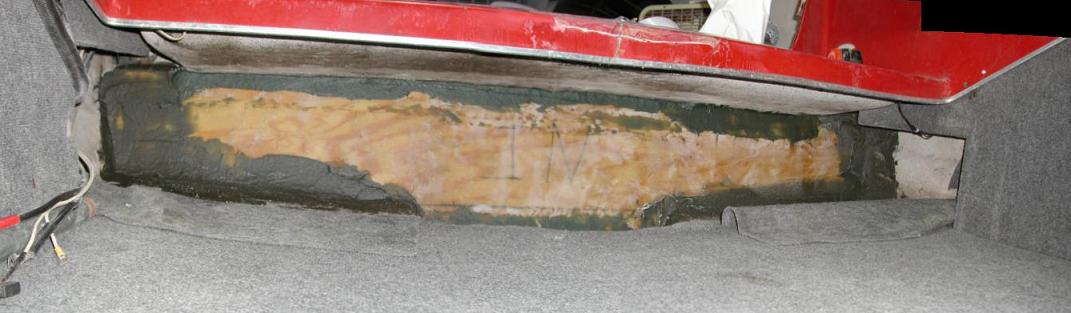
May 2008 Lake Georgetown, Texas
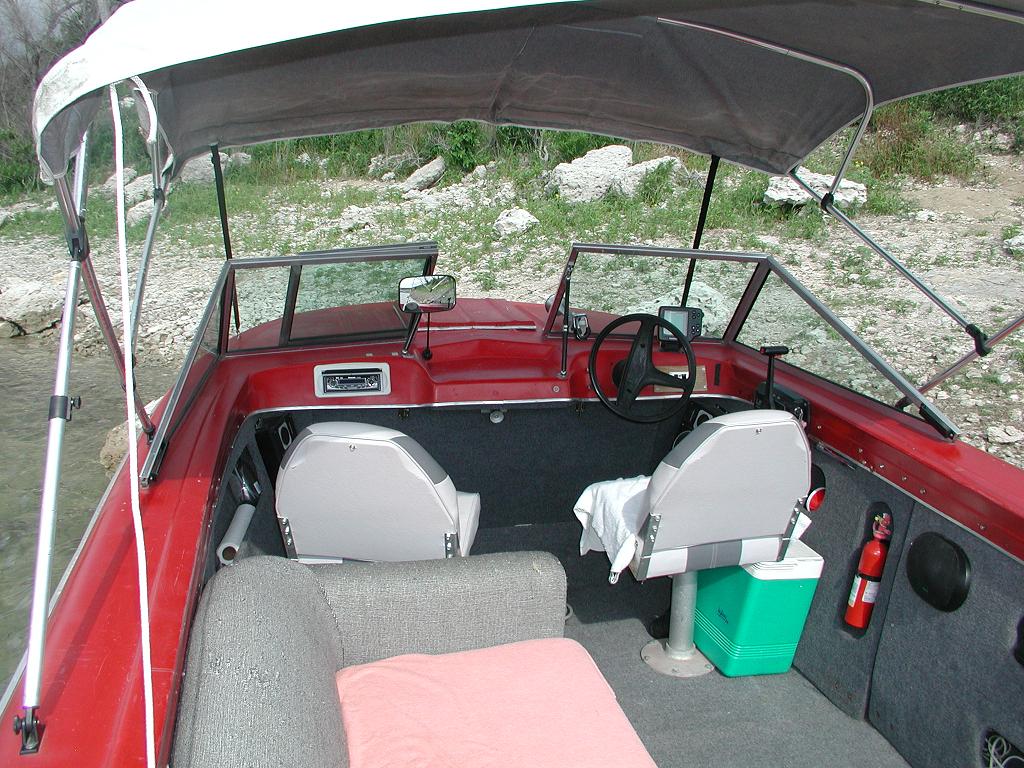
May 2008 Lake Georgetown, Texas
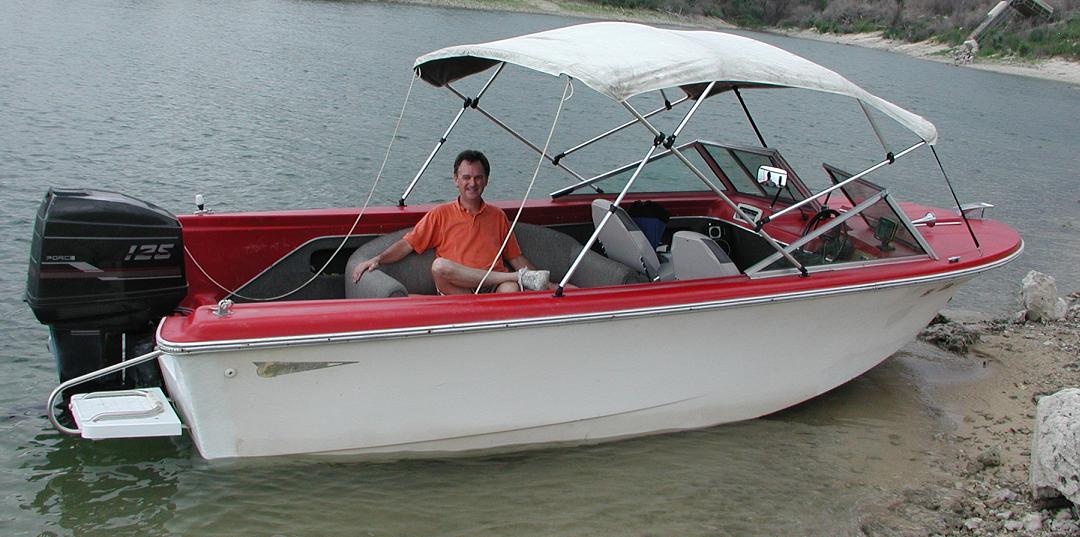
May 2008 Lake Georgetown, Texas
Done !
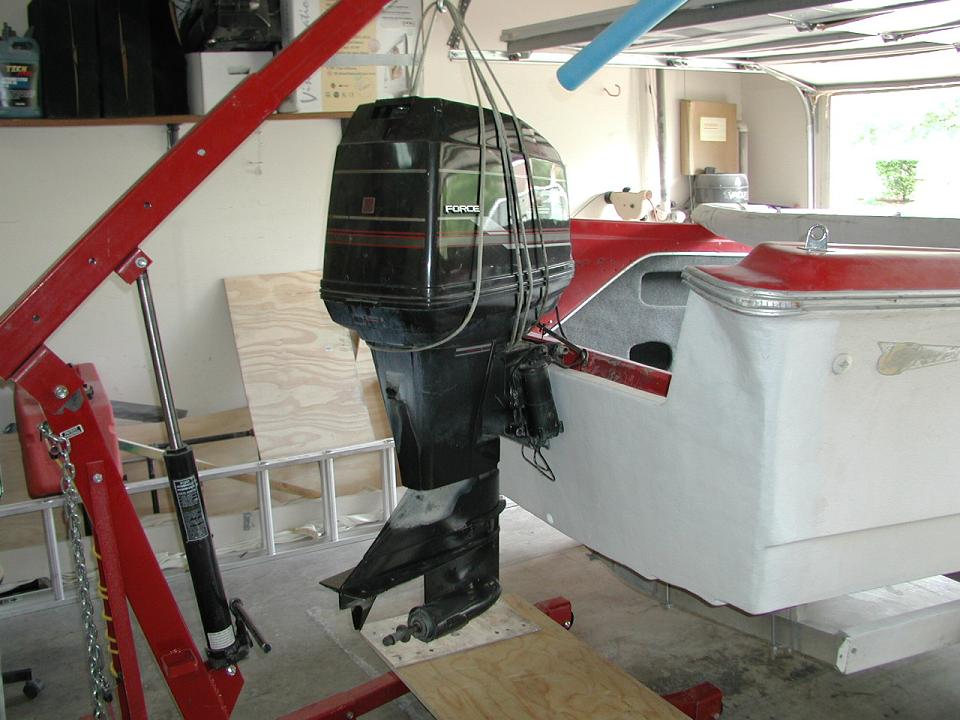
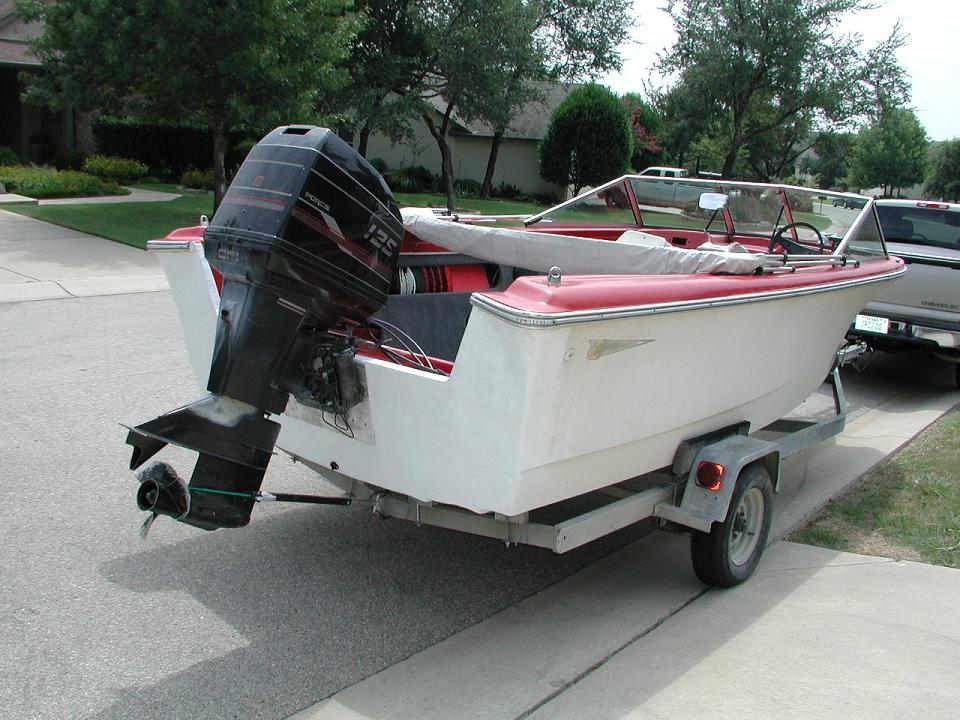
Ready for mounting.
After more sanding and applying the Gelcoat.
This is sanded after the second layer of fiberglass mat. It's almost ready for the Gelcoat.
Entire transom is now covered in one layer of fiberglass mat. I will sand it and add another layer.
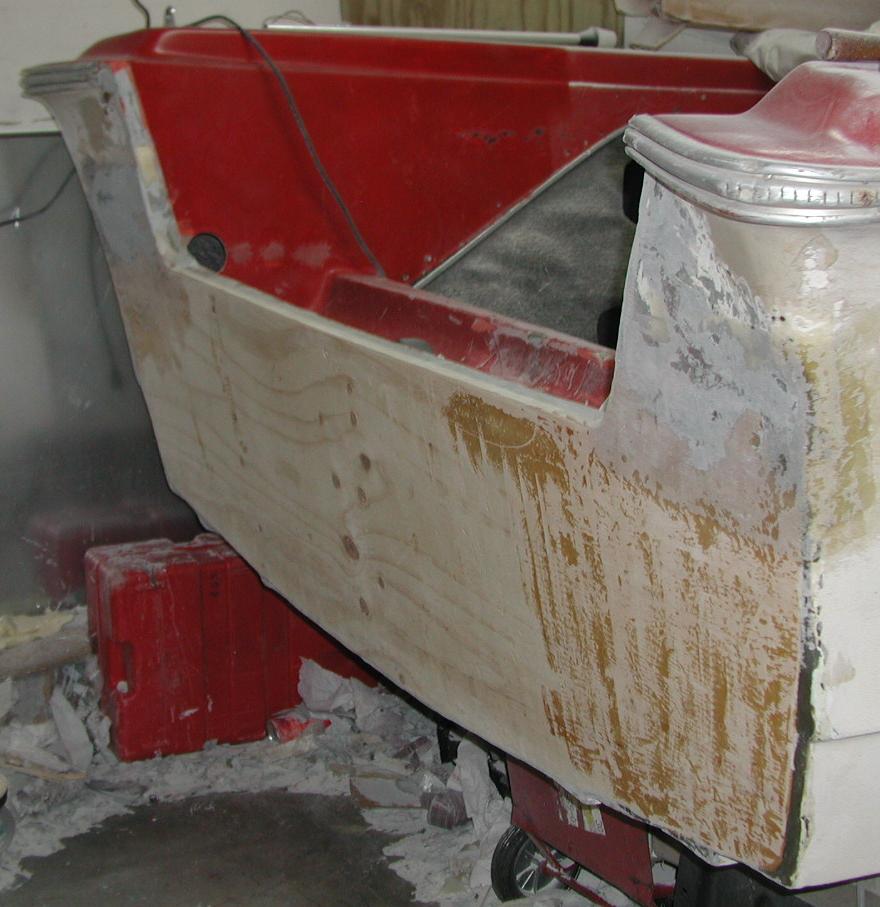
Full view showing the insulation sanded and covered with more BondoGlass® which
was also sanded. I can now cover the entire transom in several layers of fiberglass mat.
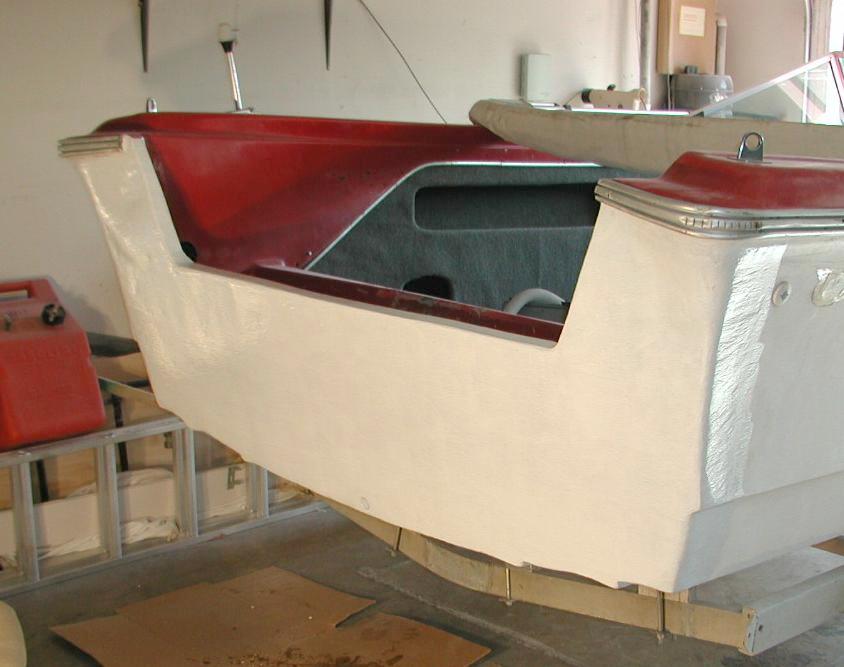
Full view showing both sides.
Great Stuff® foam insulation is added to right side.
Great Stuff® foam insulation is added to left side.
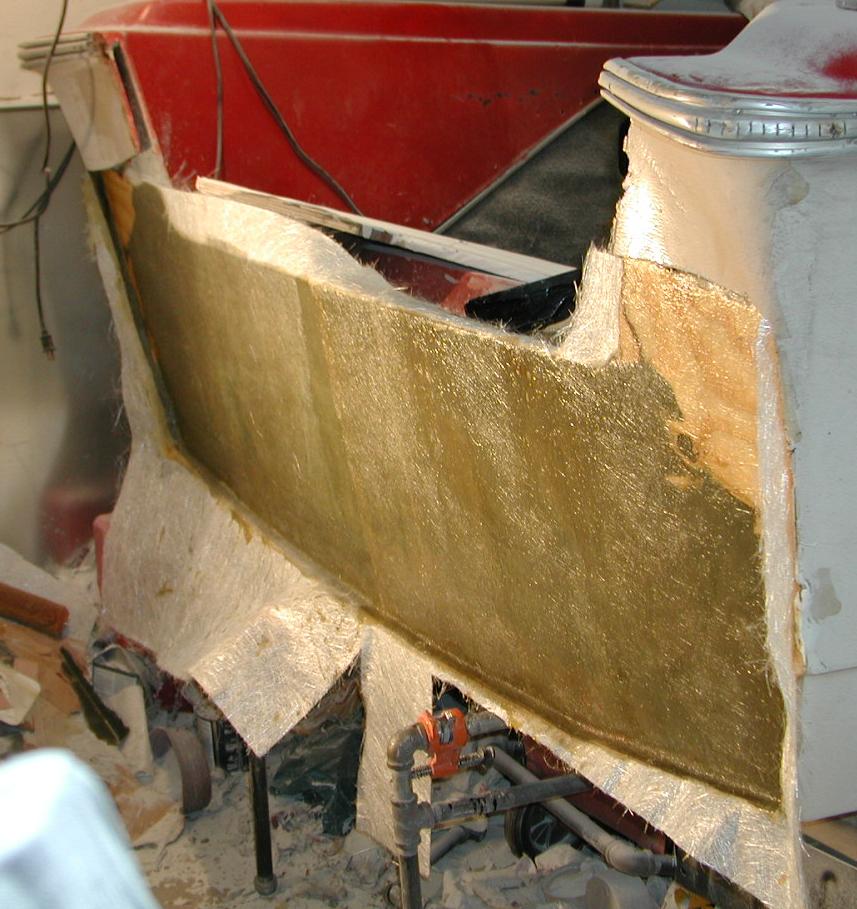
Full view showing both sides of fiberglass mat.
Top right side covered with fiberglass mat.
Top left side covered with fiberglass mat.
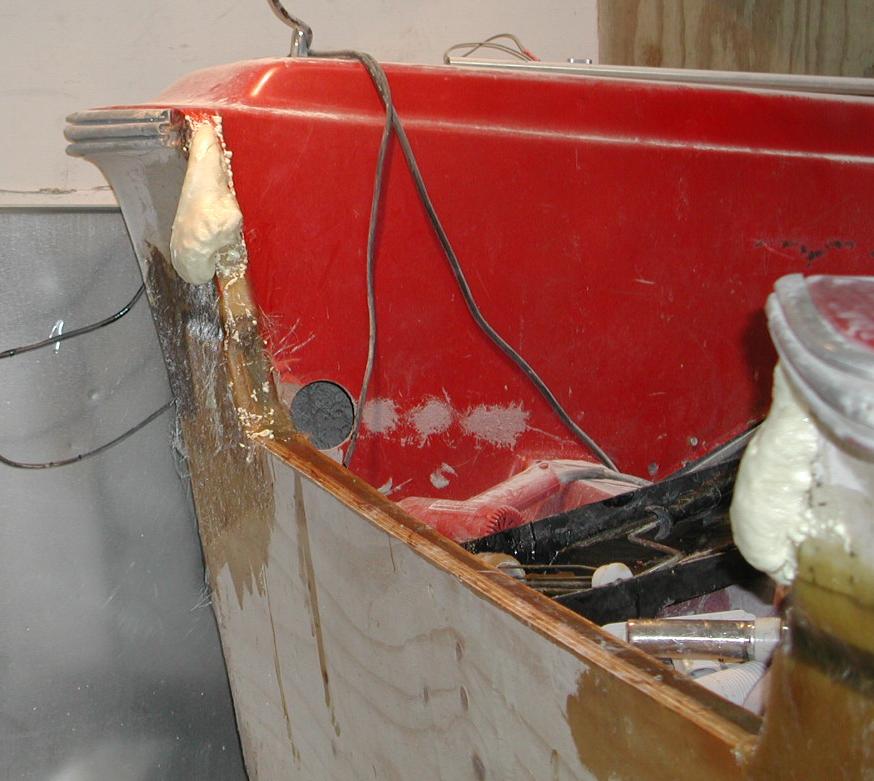
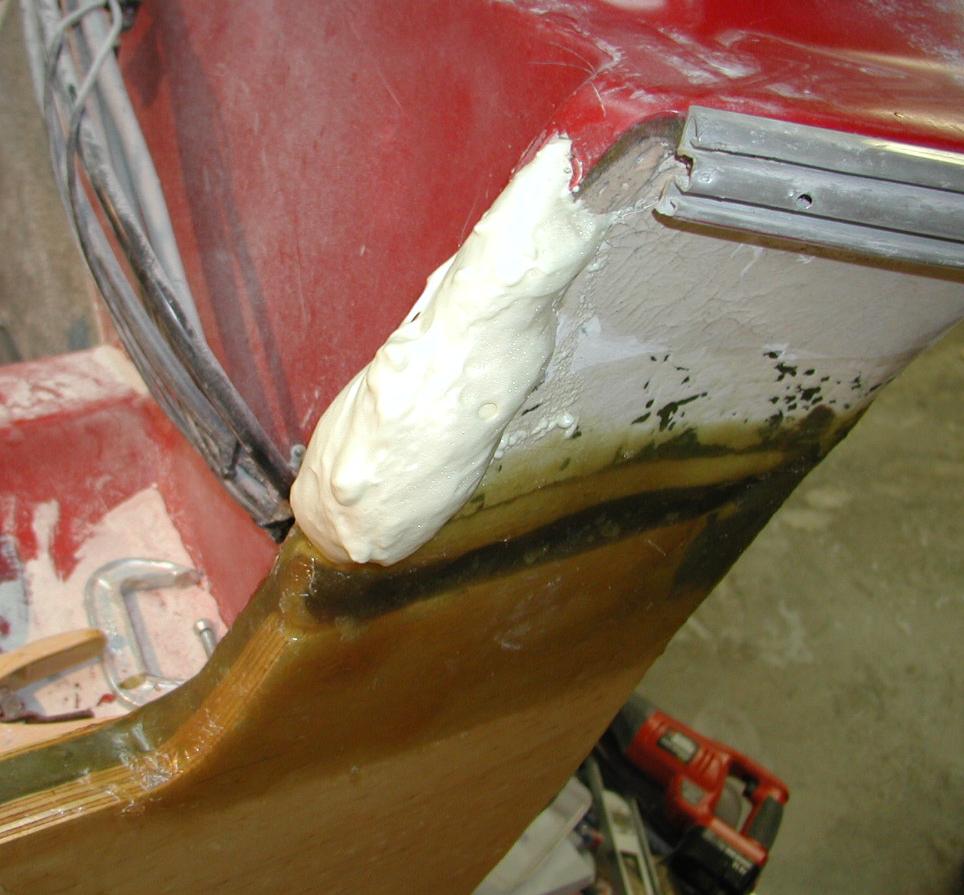
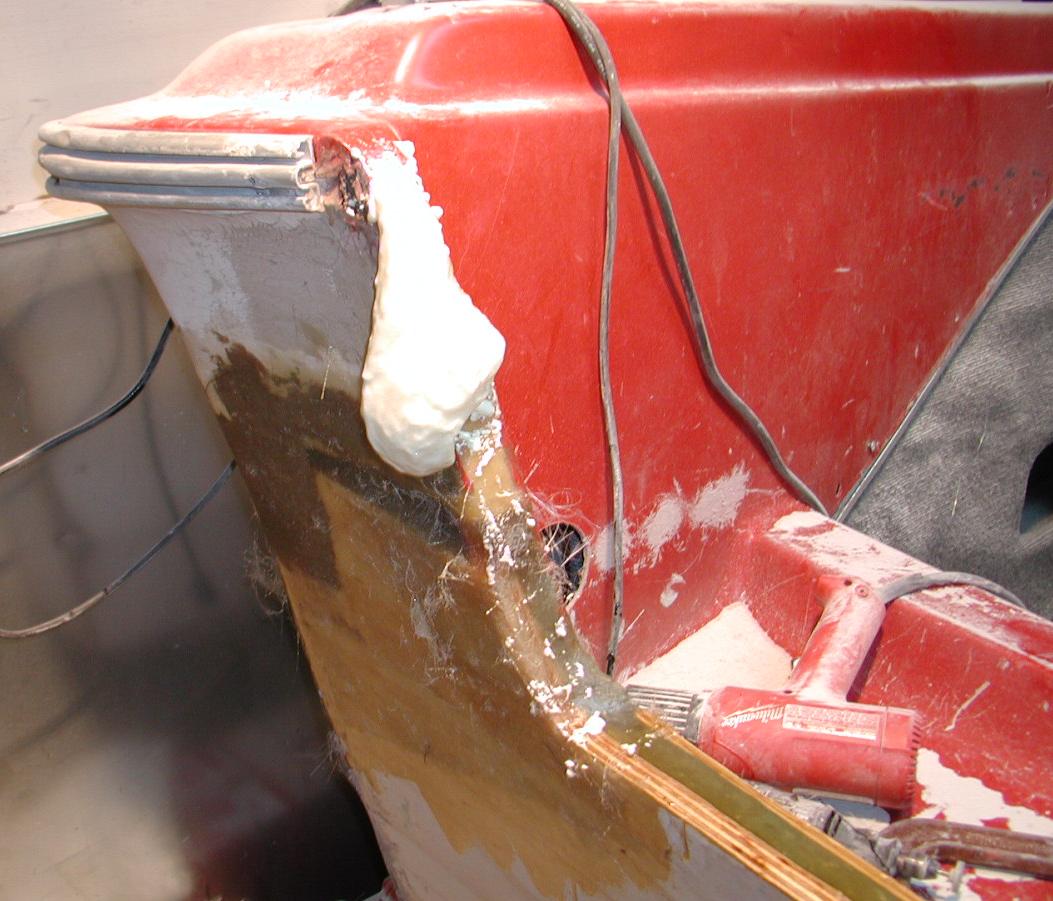
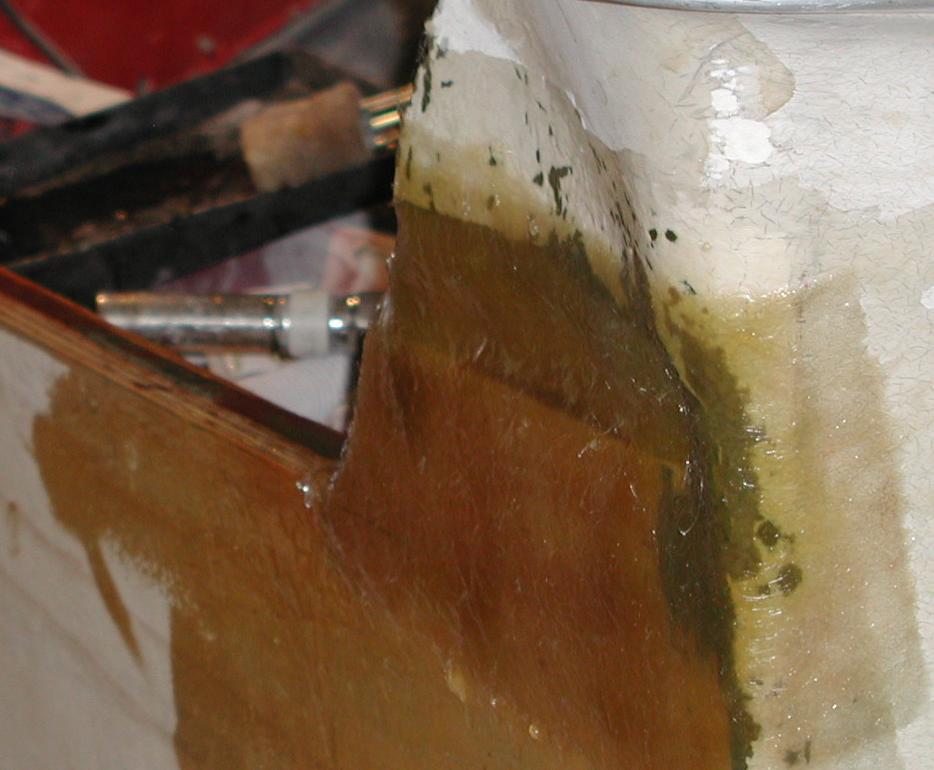
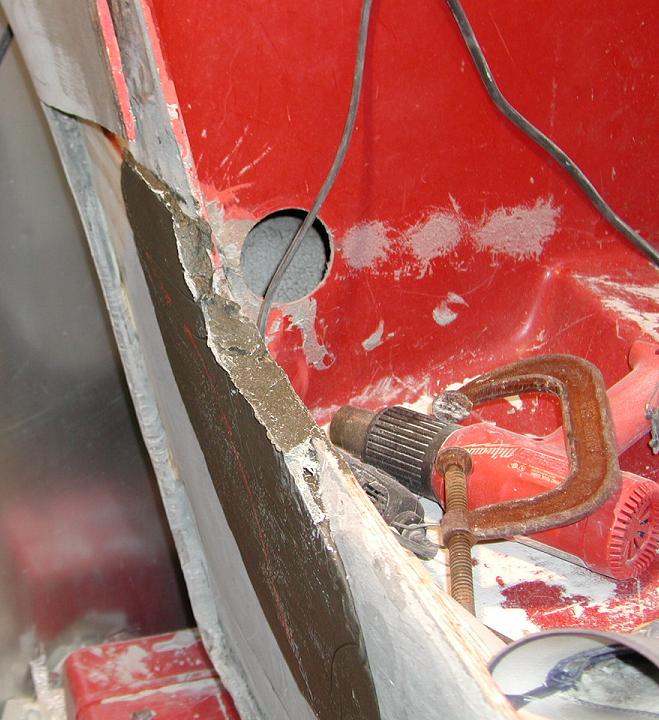
I used more BondoGlass® around the edges of the plywood to fill in the gap between the
old fiberglass and the plywood, then sanded it smooth in preparation for some fiberglass mat.
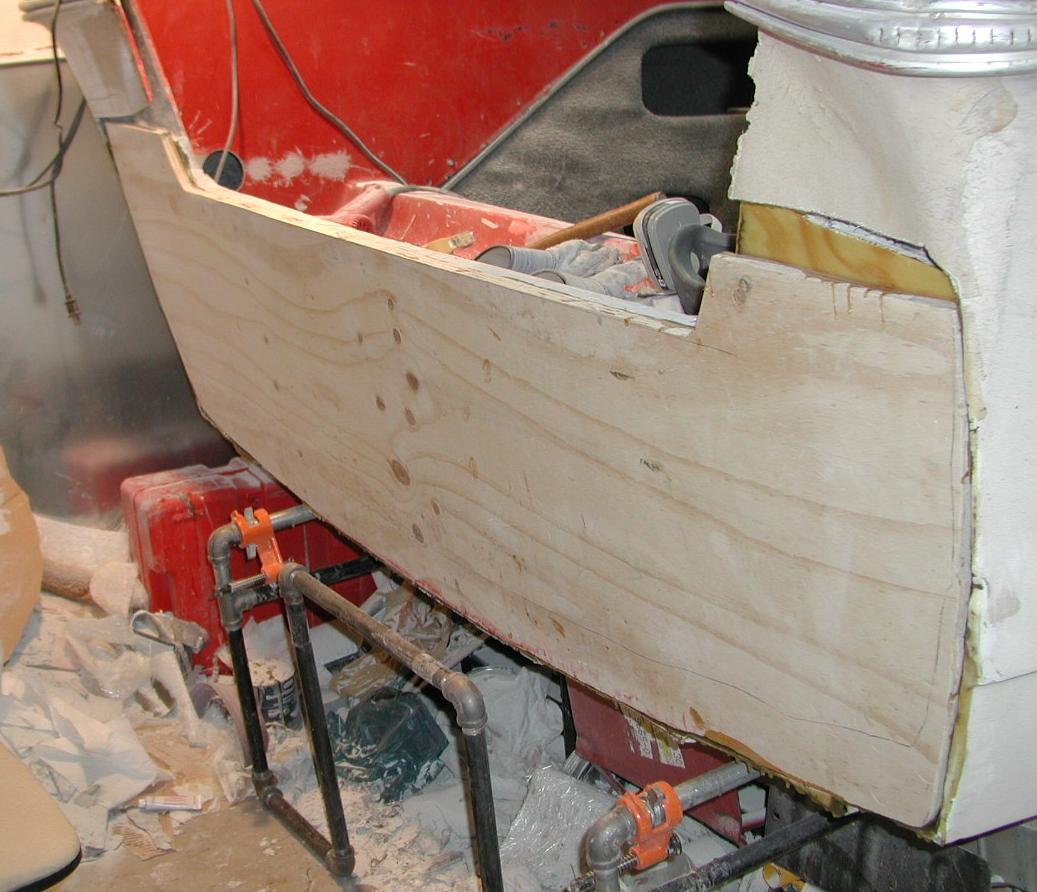
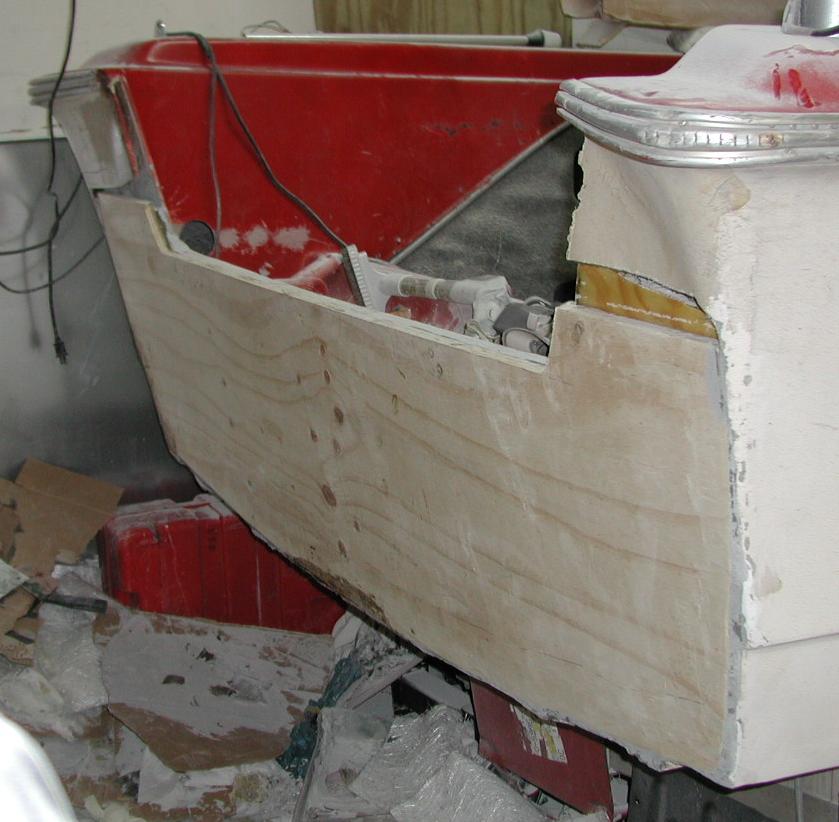
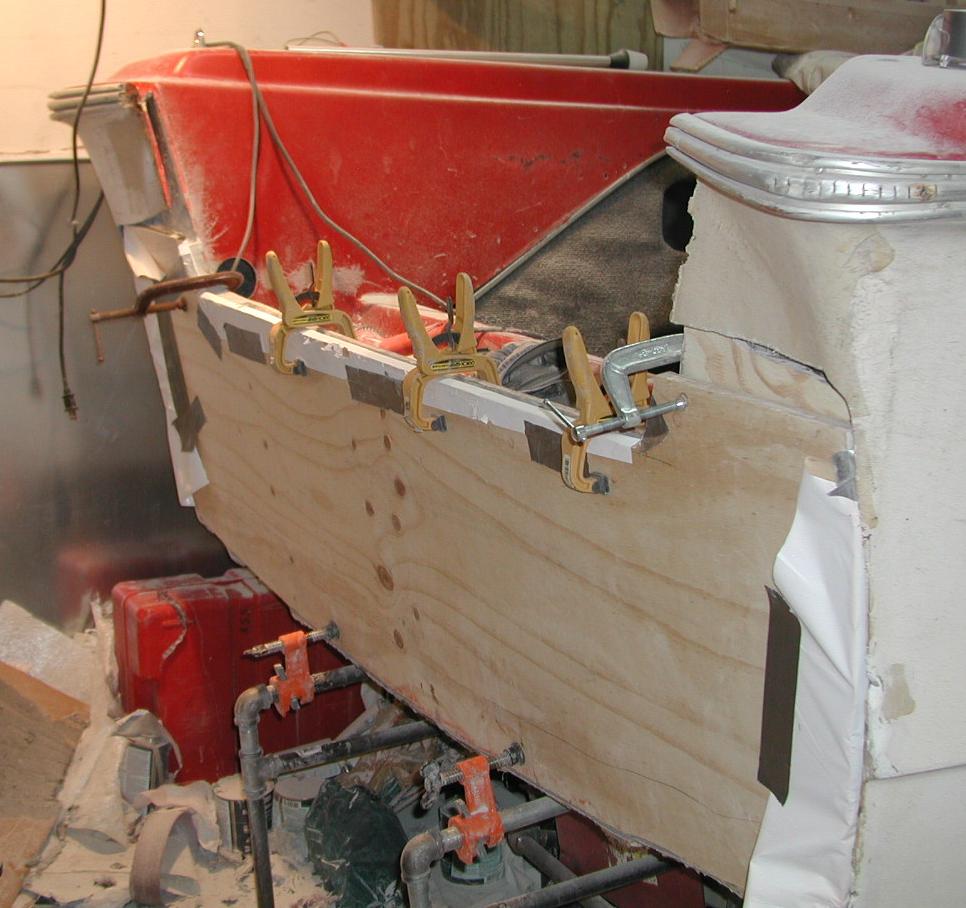
The last sheet of plywood has been attached using Bondo® resin.
Fiberglass mat after sanding.
Fiberglass mat has been added.
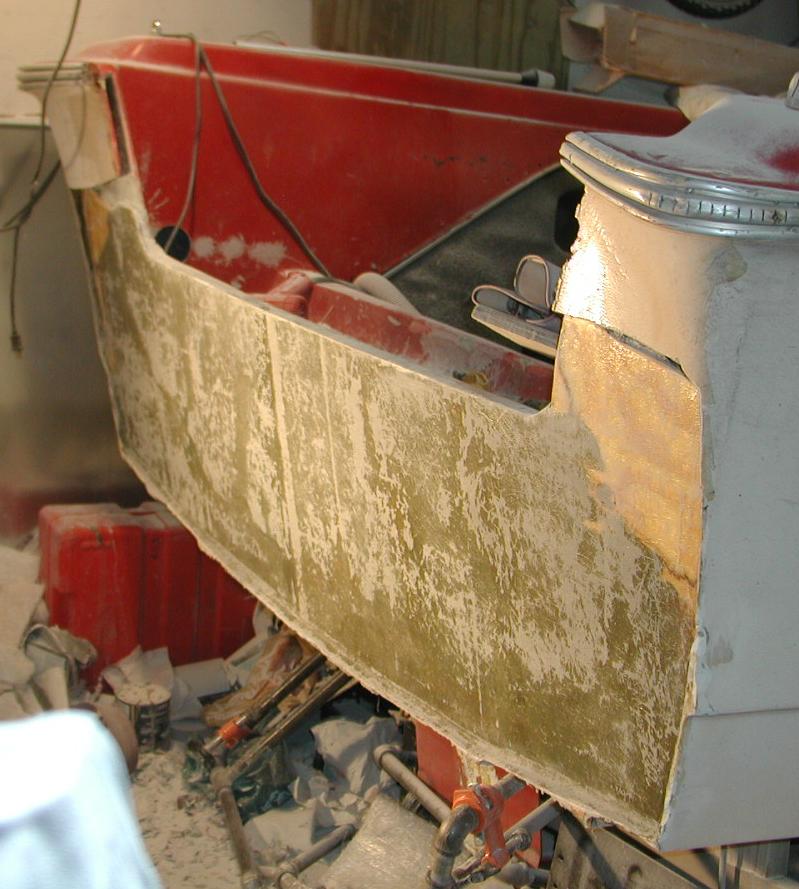
It took 30 cans of BondoGlass® to get the transom smooth enough for the plywood.
Almost done adding what I hope to be the last bit of BondoGlass®.
Closeup of BondoGlass® after sanding.
Closeup showing how the BondoGlass® sticks to the boat, but not the
plywood covered with contact paper. This area is now ready for sanding.
I found that by applying a sheet of contact paper to the inside area of the last
sheet of plywood, I was able to mix 1 can of BondoGlass® and apply it to
the contact paper in the next area to be covered. I then sandwiched in the fresh
BondoGlass® onto the boat using clamps all around the transom. The BondoGlass®
only sticks to the boat, but not the contact paper, which then gave me time to sand, etc.
After sanding the matting, more BondoGlass® was added, one section at a time,
because the resin sets in less than 5 minutes after mixing with the hardener. I wasted
at least 2 cans when trying to mix up too much and ran out of time. DOH!
Fiberglass mat has been added and covered with Bondo® resin.
After applying more BondoGlass® and sanding.
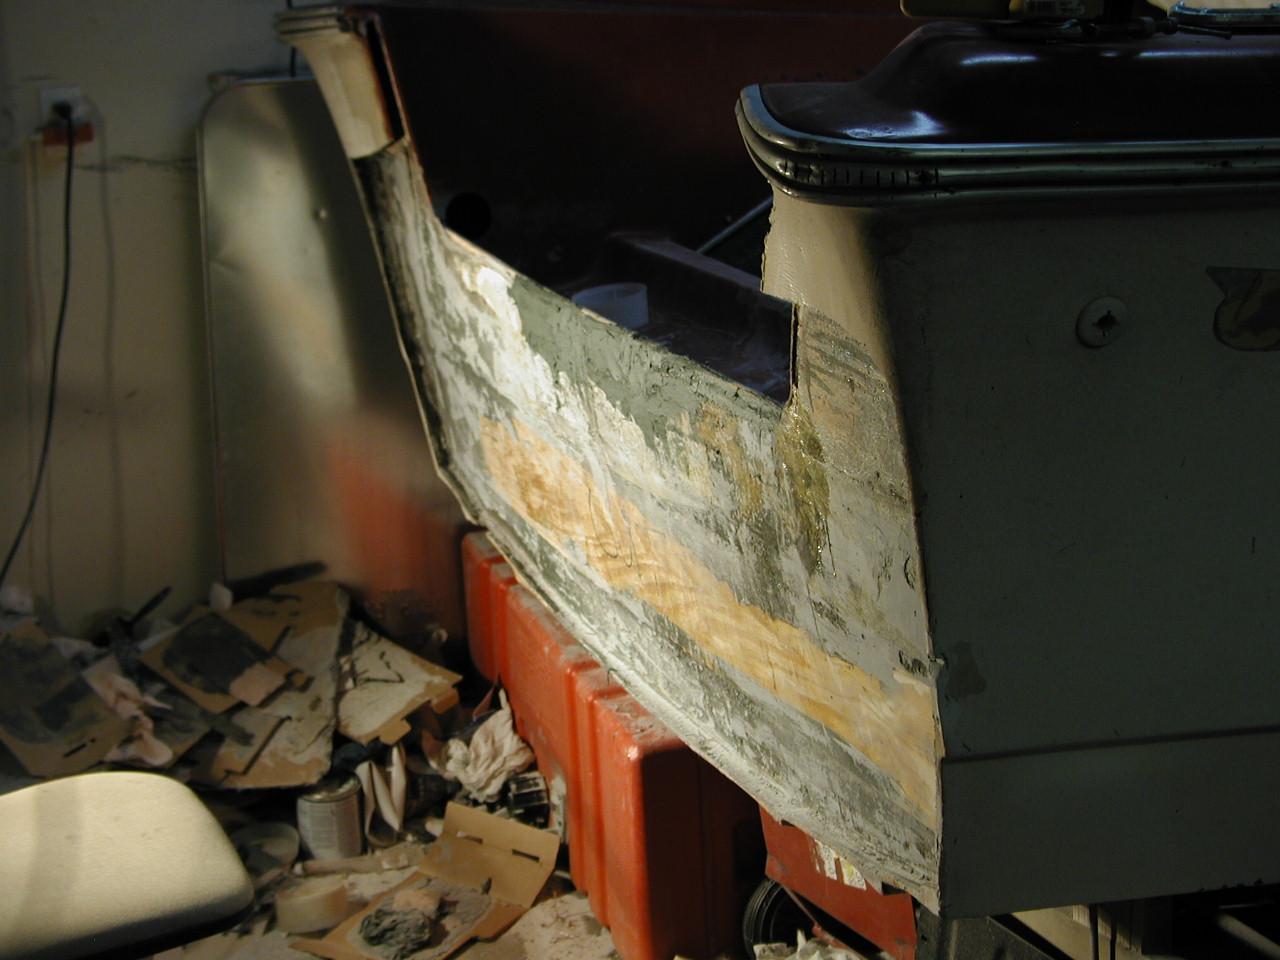
BondoGlass® has been used to fill in the gaps. The transom is
starting to look like it may actually hold a motor once again!
Top inside of transom showing new plywood.

Top of inside transom has been reinforced with plywood attached using BondoGlass®.
More BondoGlass® was used to fill in the gaps. The transom is now even MORE solid than before!
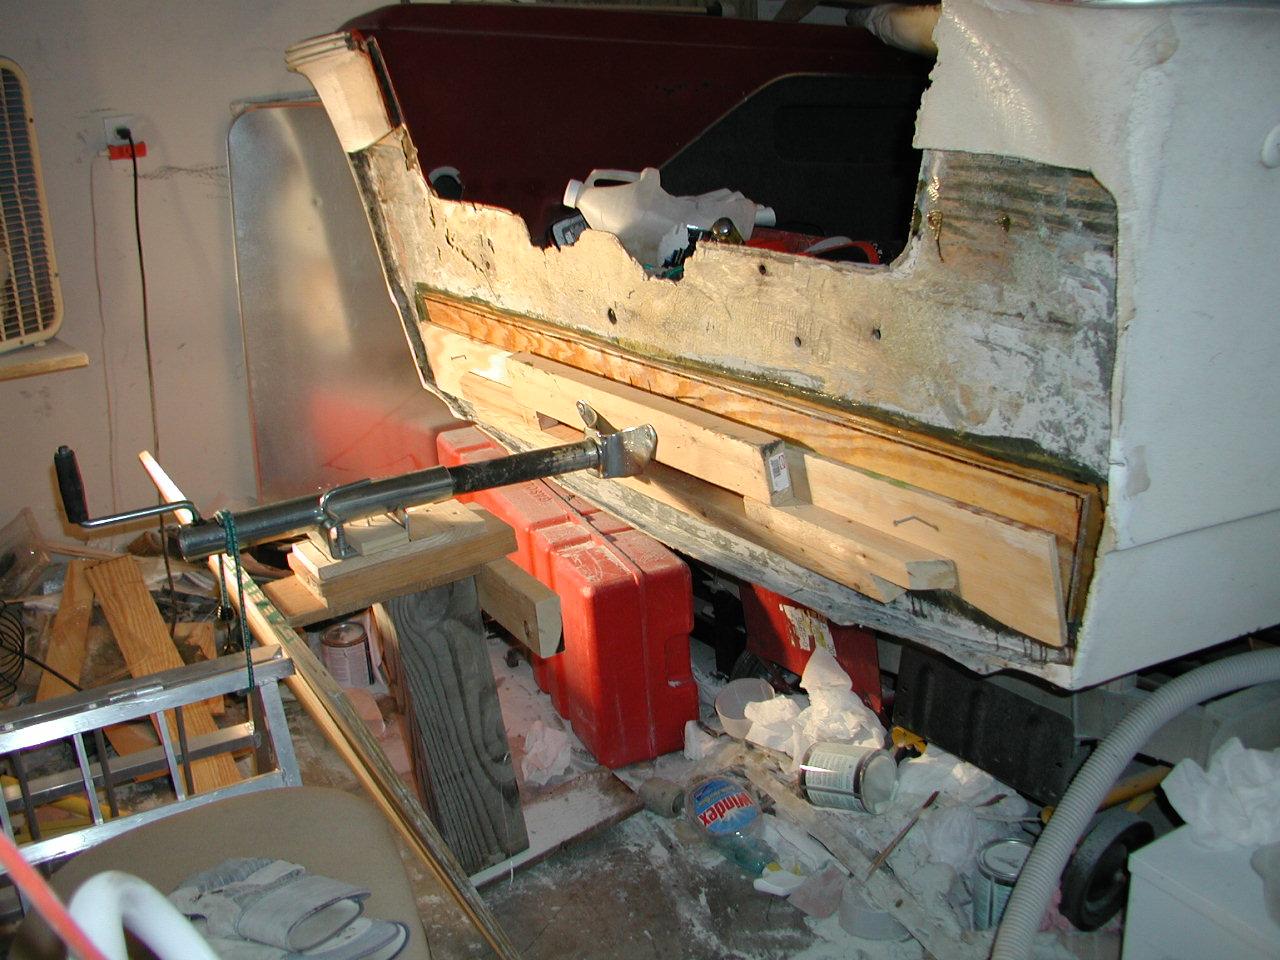
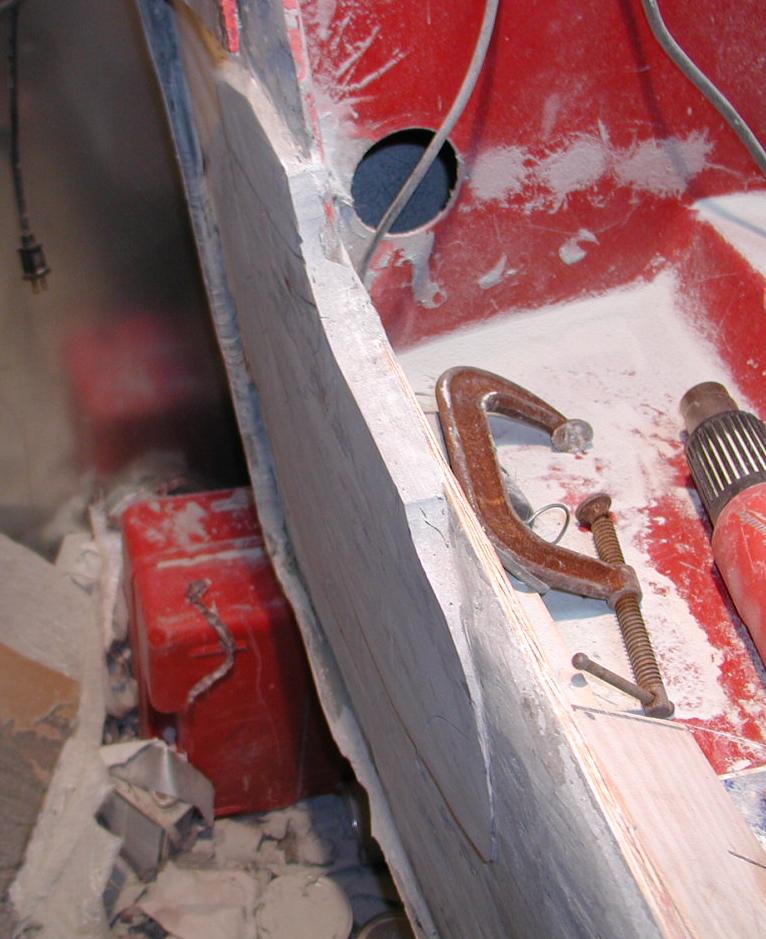
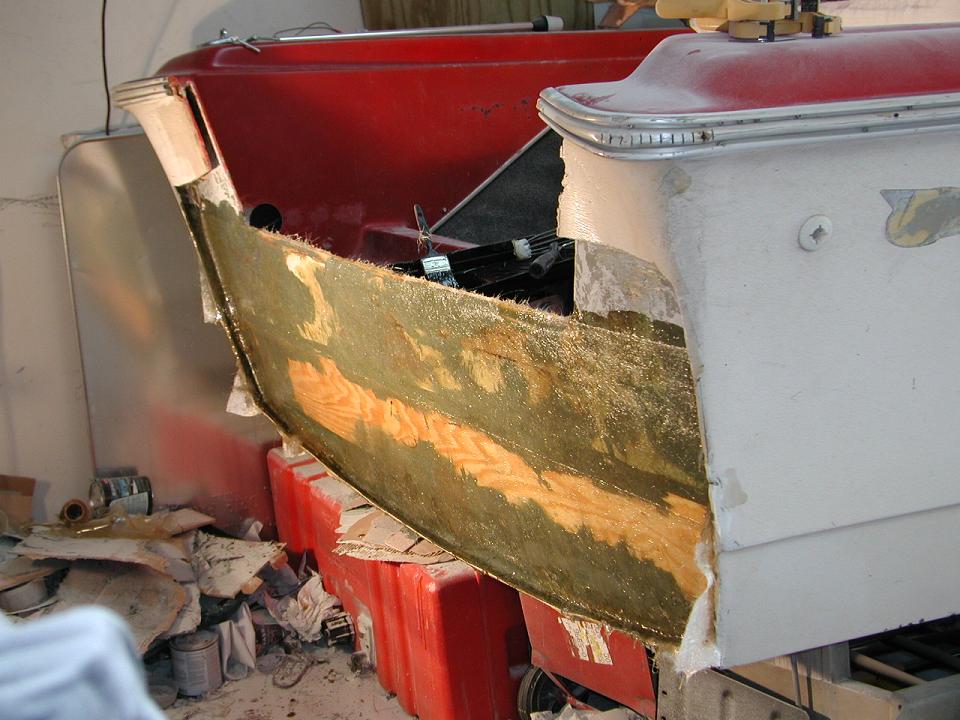
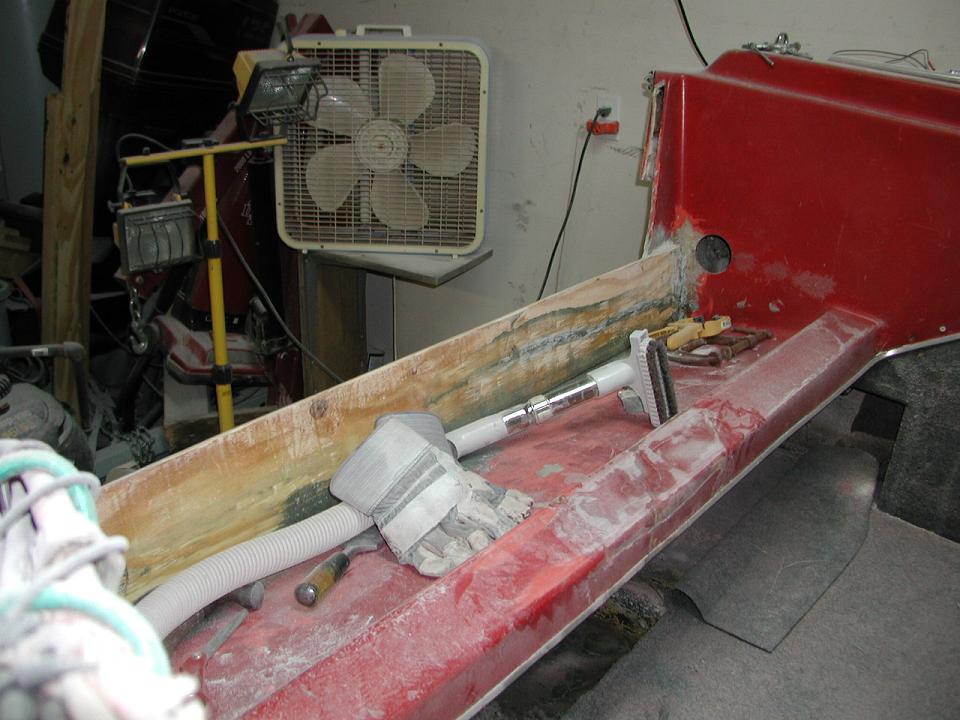
A second piece of plywood was used to fill in the gap where the old fiberglass was removed.
This was held in place with the old trailer jack similar to the inside repair.
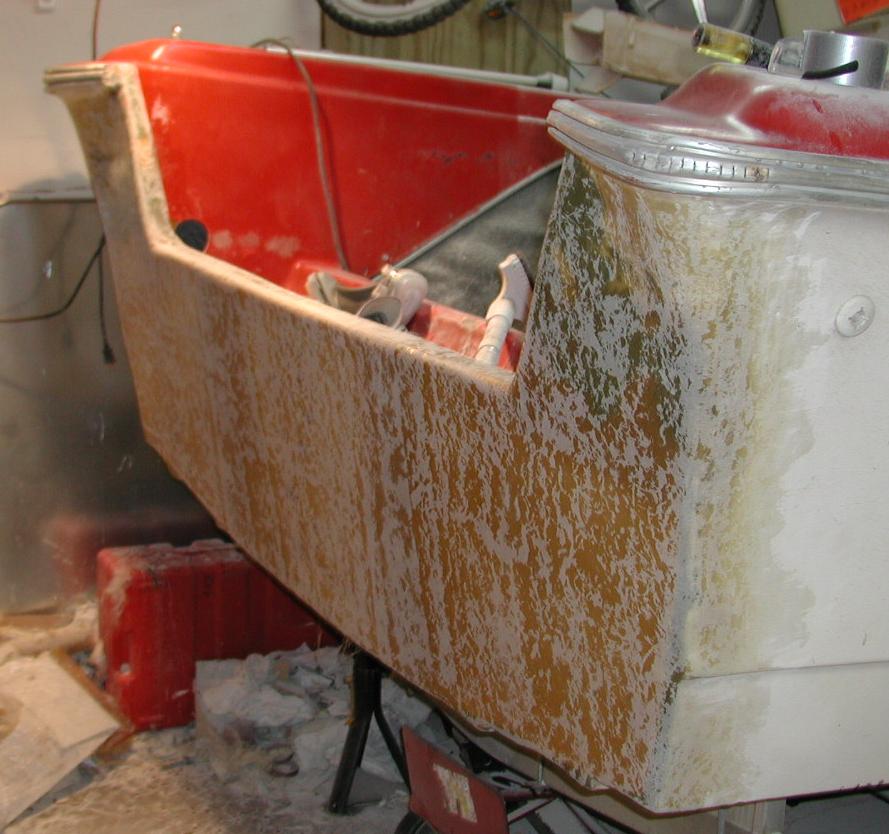
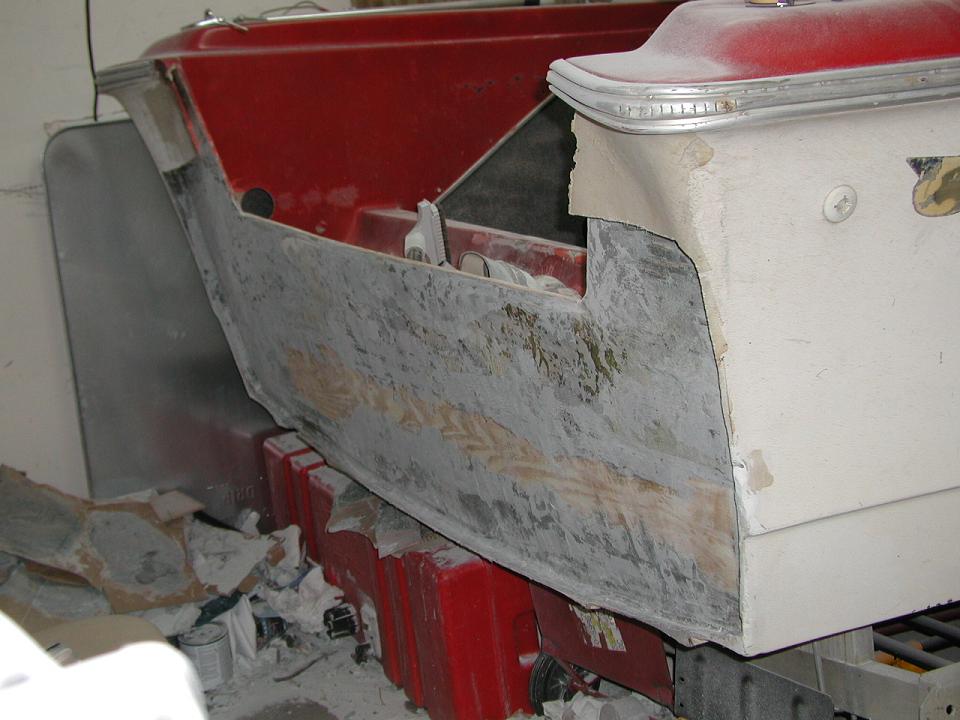
BondoGlass® was used on outside of transom as well, then coated with Bondo® resin.
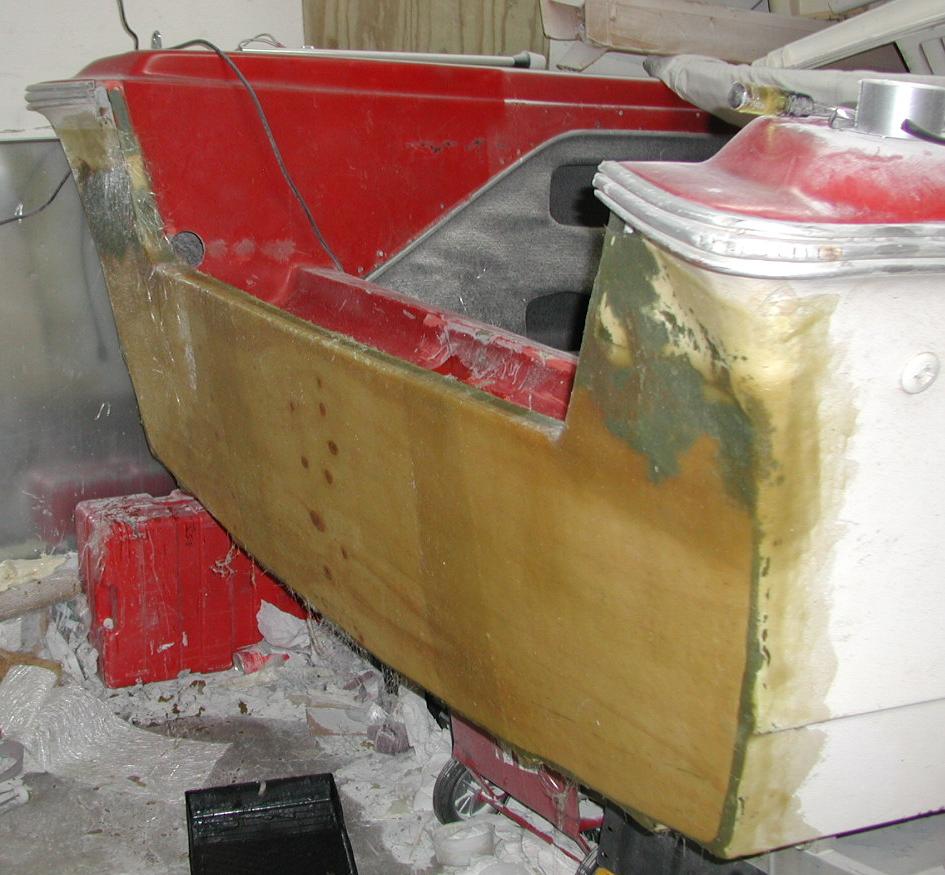
BondoGlass® was used to seal in the new plywood. It is VERY solid now!
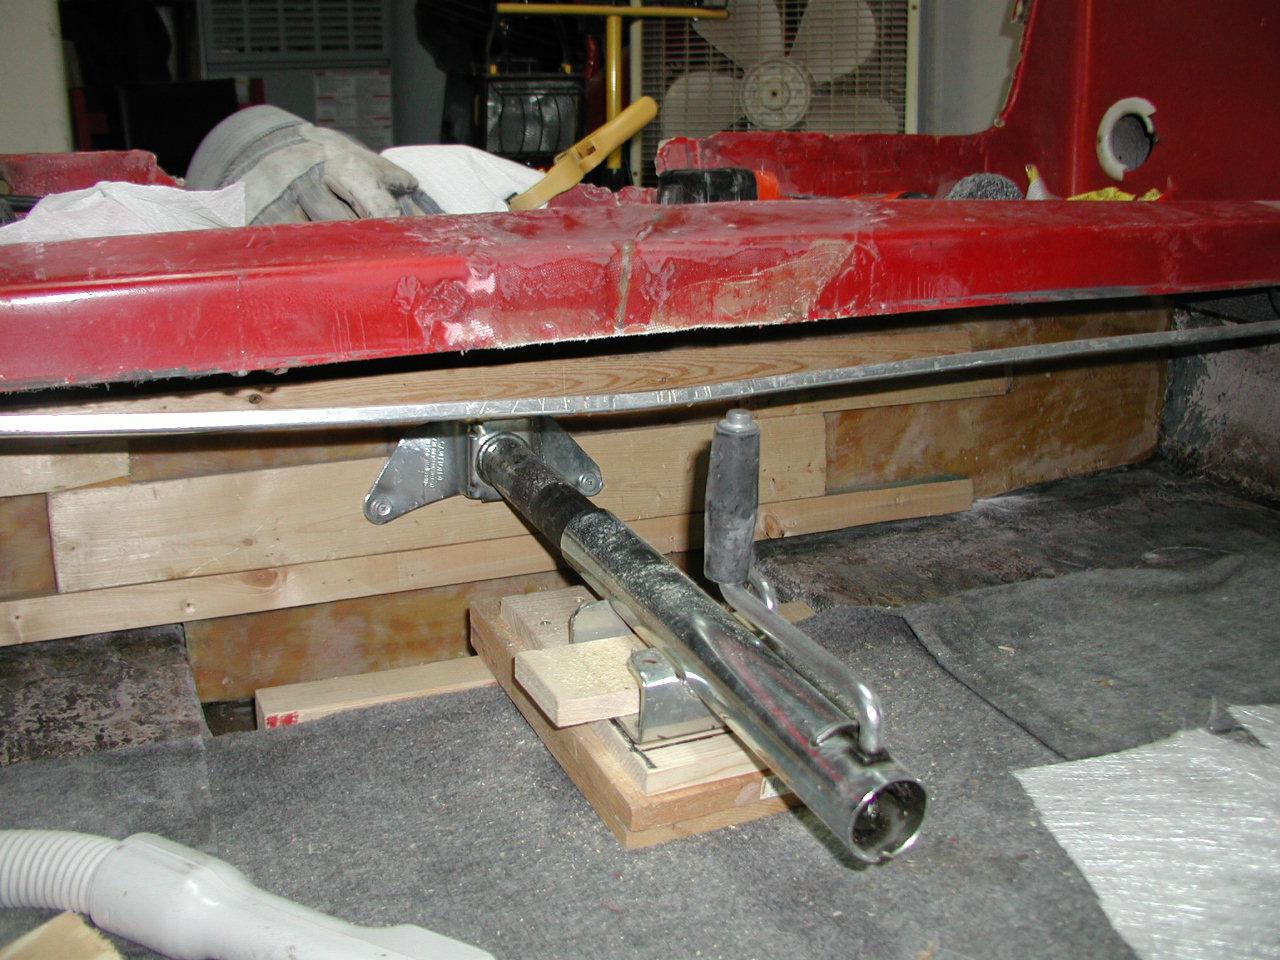
I used an old trailer jack to keep pressure on the new plywood inside transom to create a tight fit.
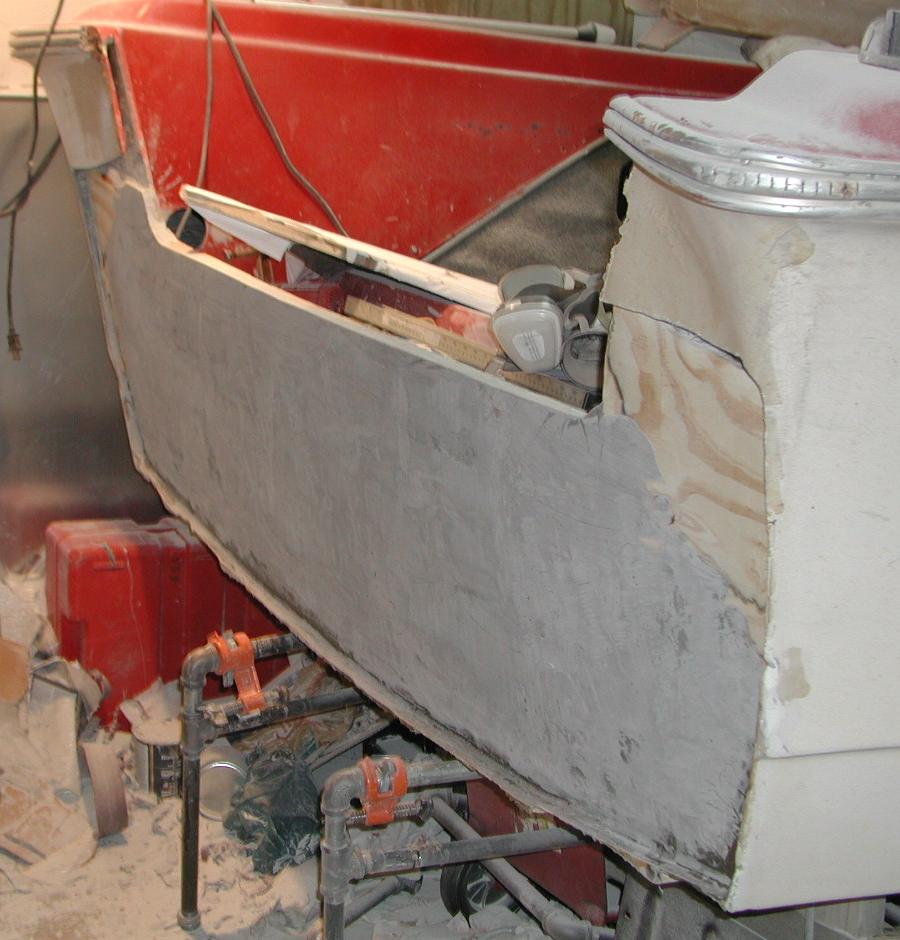
Bilge area needed reinforcing so I used a thin piece of plywood, then covered with Bondo®.
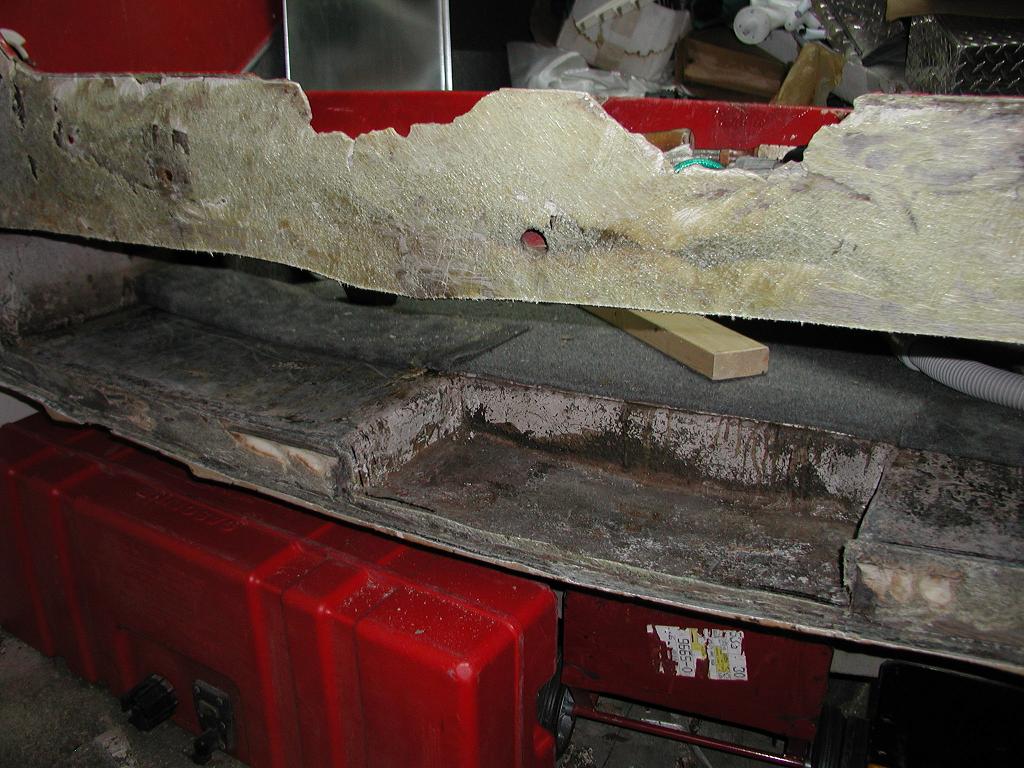
Bilge area was sanded down and Bondo® was used to level the area.
New plywood has been fiberglassed and fitted inside transom.

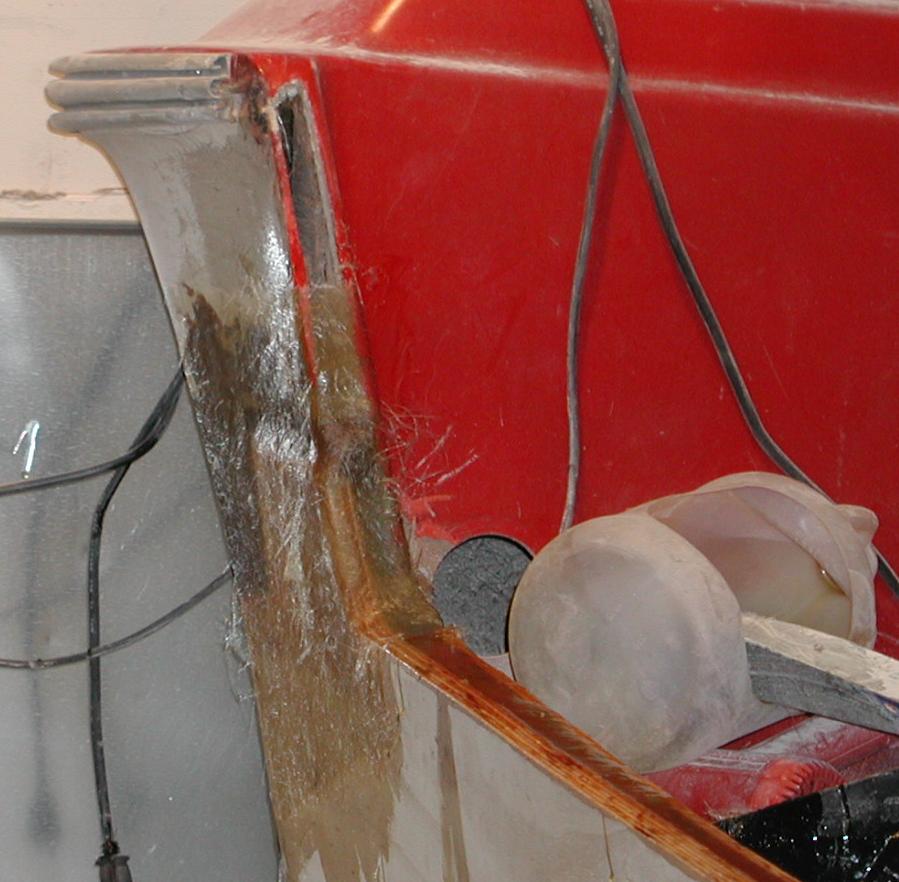
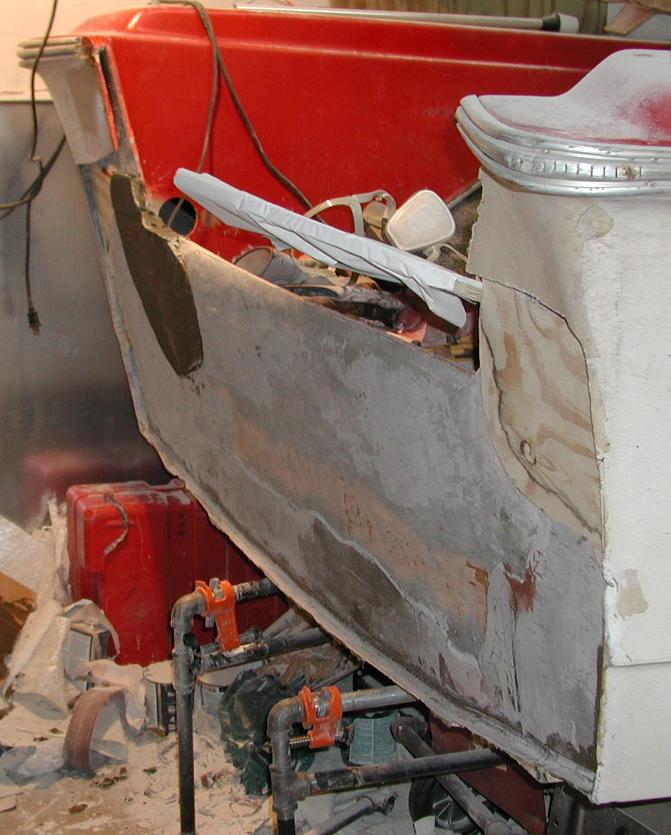
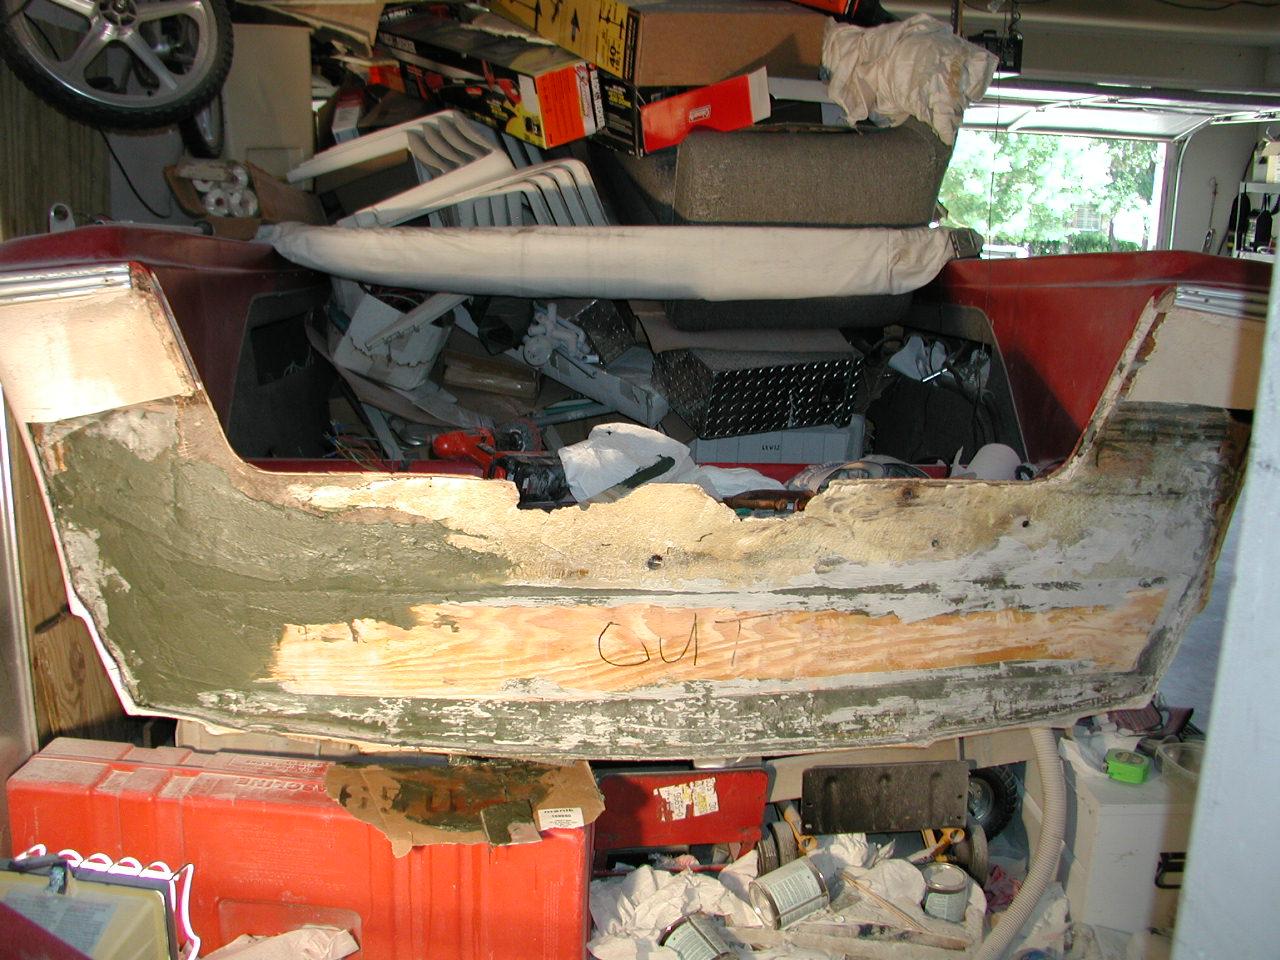
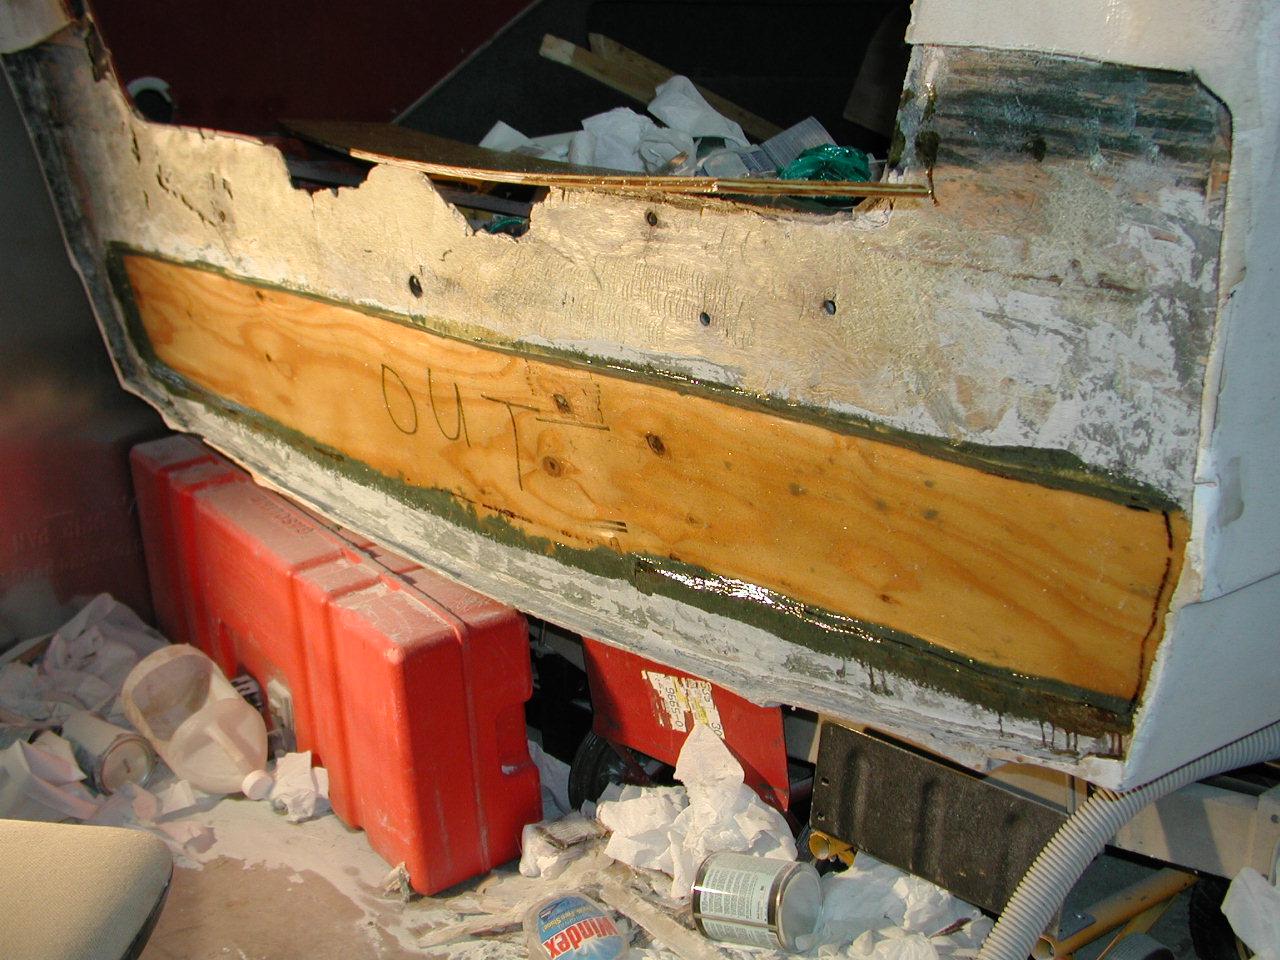
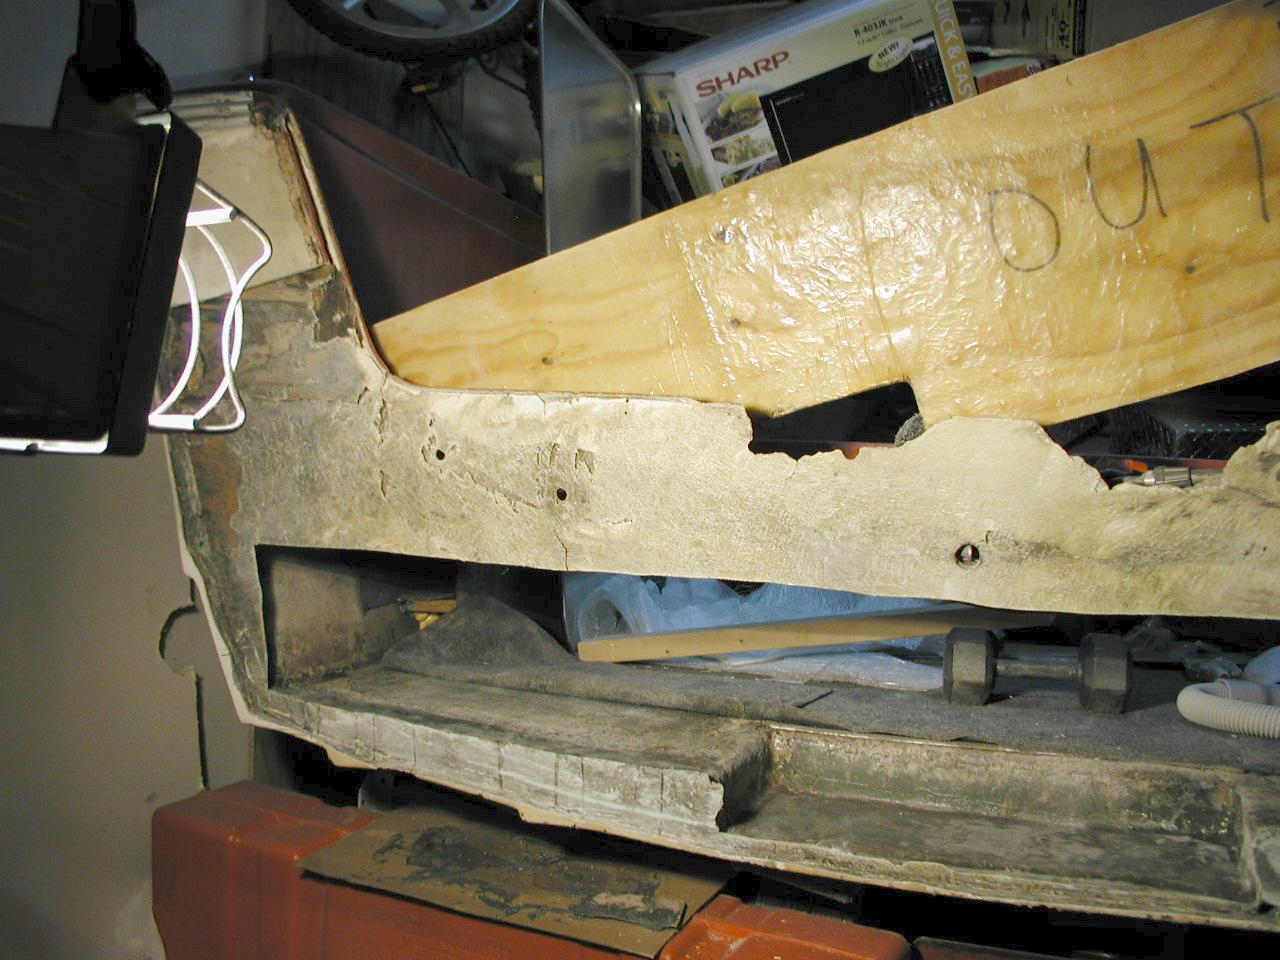
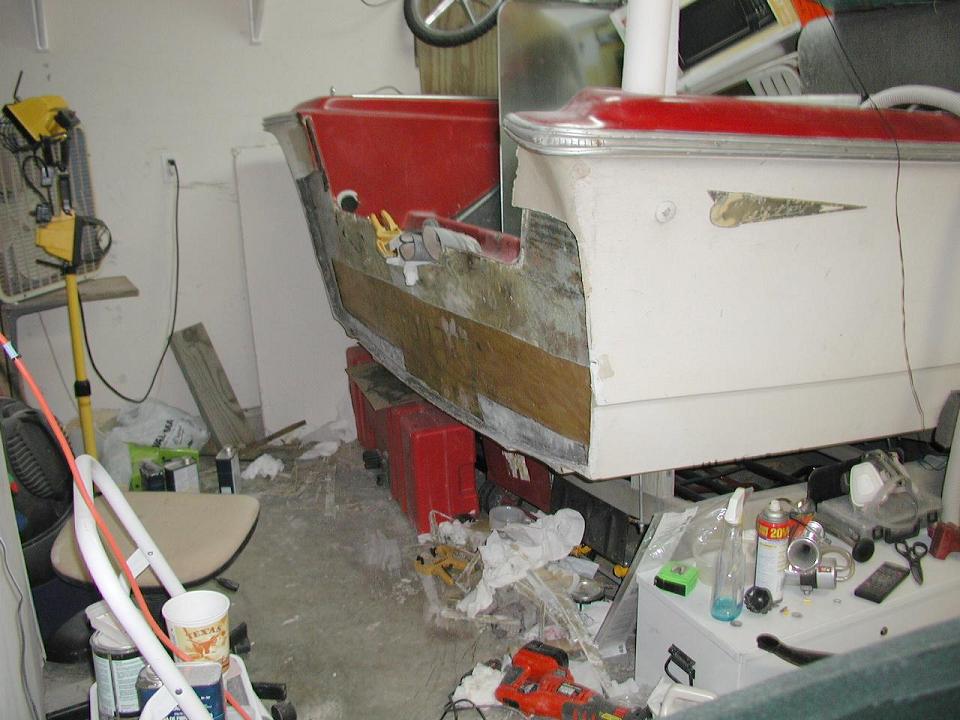
Jagged area of remaining fiberglass has been trimmed away.
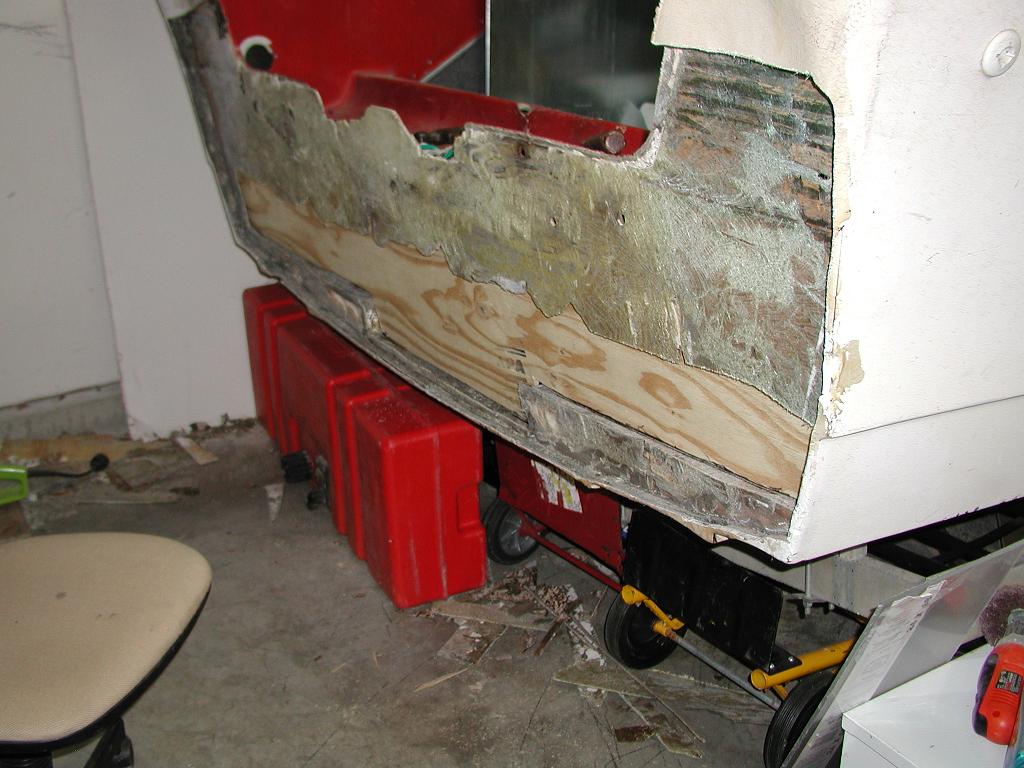
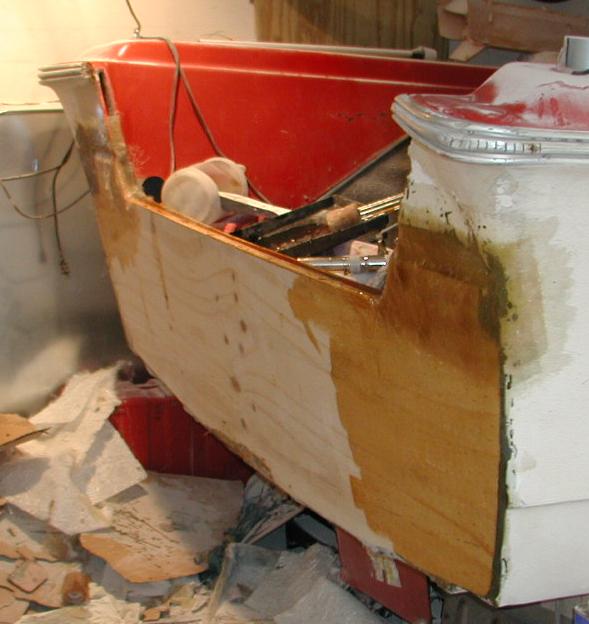
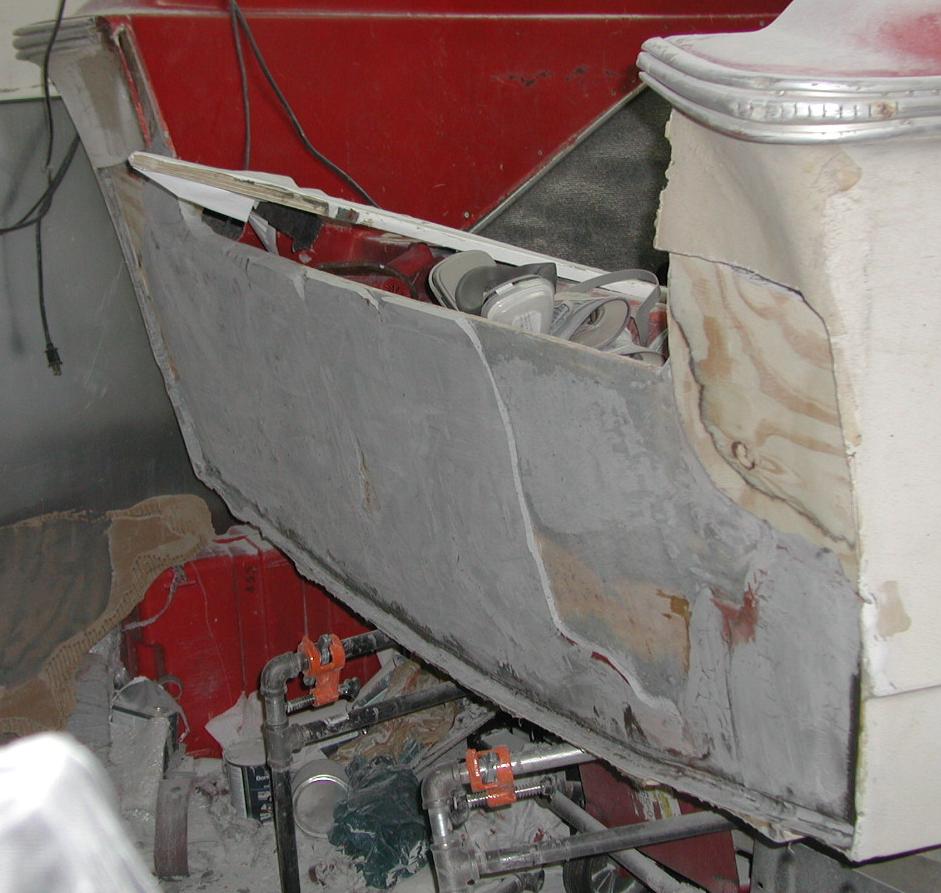
Old wood has been removed and sanded down to remaining fiberglass.
New plywood has been setup inside transom for support.
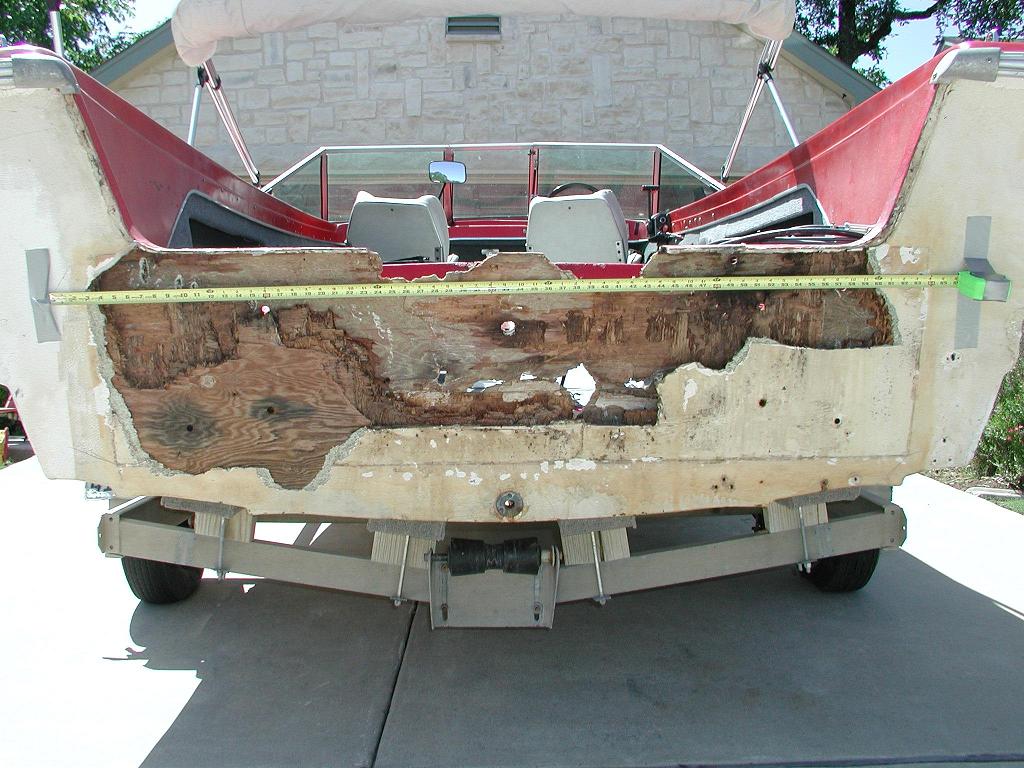
Wood is wet and rotten and must be removed.
2005©DBL